Showing posts with label recipes. Show all posts

Thursday, 2 January 2014

taco rice bowl {in the kitchen}

On the way home from work the other day, I was trying to conjure up a new dinner dish using ground beef. Spaghetti and chili were getting a bit old and besides, Oakley doesn't like tomato sauce {seriously. What kid doesn't like spaghetti?!}. I really liked the idea of tacos but we didn't have any tortillas or shells so I started thinking about putting it over rice. I love rice bowls and I love tacos. A good combination, I'd say!

Here's what I did:

Ingredients - 
2 lb ground beef
1/2 onion
1/2 red pepper
2 cups chopped fresh spinach
1 cup halved cherry tomatoes
1/2 cubed avocado
1 cup diced cucumber
taco seasoning
1 cup cooked rice
ranch dressing 
salsa

Brown beef with onion and pepper. Season to taste with taco seasoning.
Meanwhile, start cooking rice. {Invest in a rice cooker if you haven't already ... it's my favourite kitchen appliance!}
While things are browning and cooking, chop spinach, tomatoes, avocado and cucumber. 
Put rice in bowl, spoon beef mixture over rice & top with veggies and desired sauce {if any}.

It was a healthy, filling supper that really turned out well! 


Thursday, 12 December 2013

anchors aweigh! {a birthday bash post}

Did you know that that's the right way to spell "anchors aweigh"? It's not "anchors away" like so many people write. I was blown away when researching "sailor terminology" for O's birthday party. (Yes, I am that nerdy mom.) We planned a nautical party for him (of course) and I had so much fun. Lots of things were Pinterest-inspired and I was happy with how it all turned out! Here's a look at our little man's big day …


Fishbowls and vases full of candy and treats for our guests. 
(I had wanted to tie all of them around but the fishbowls were a bit TOO round!)


This clever label is a copy from Pinterest. 
In case your'e wondering, this is how we got blue punch … er, Ocean Water.

Lemonade
Raspberry Lemonade Kool-Aid Mix 
(to make it blue)
Sprite

Mix to taste. 
(Read: my husband made it. I have no idea what sort of portioning he used.)


My ah-may-zing sister-in-law, Justine (who also hosted the party) 
whipped up this chalk art to welcome people.
When she said "I'll write 'Happy Birthday Oakley' …" I was NOT expecting this.
But it was incredible (and VERY much appreciated!)


I made this banner out of construction paper … I had originally planned to cut them into triangles, which is why they aren't square, but ended up liking the rectangle look.


I got those striped bunting banners off Pinterest too. Find them (along with other pretty printables) here.


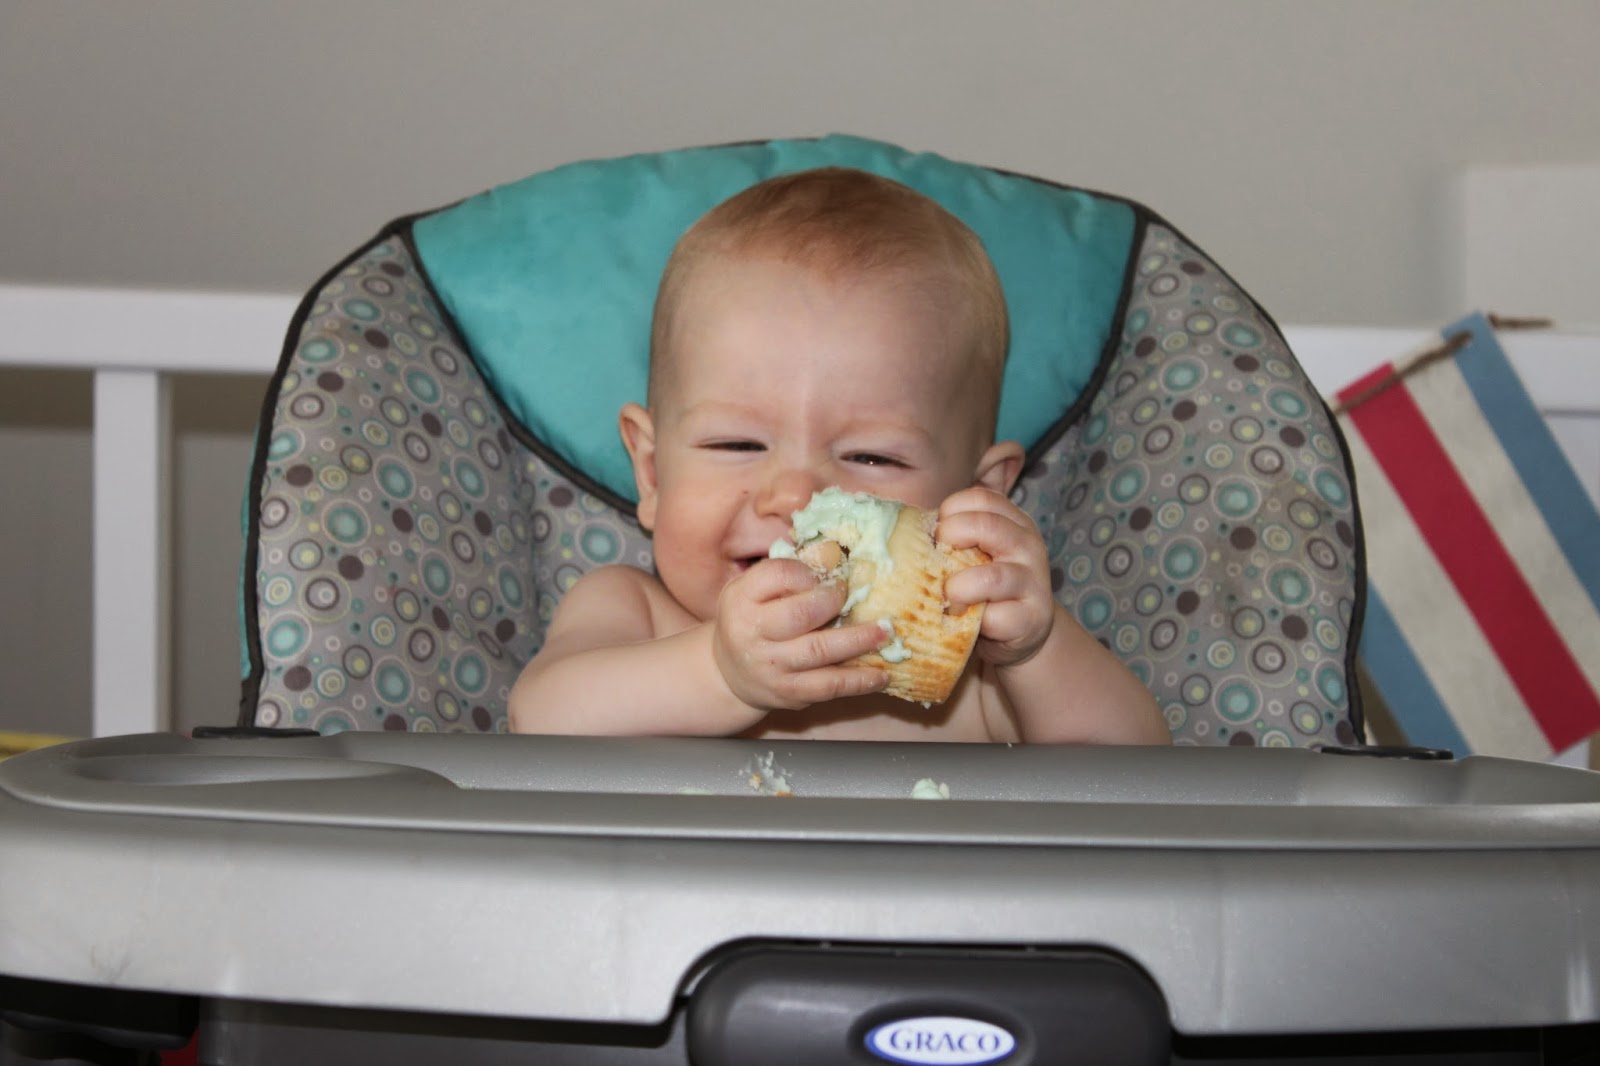
He loved his cupcake smash. 
Too much. 
It was awesome.


I did a little photo shoot for his birthday.
It took SO long to get this picture because he was so busy just being crazy & bouncing the balloons out of the crib constantly.


Cupcakes!

The cupcake liners and toppers are from DOLLARAMA! Yes. You read right. 
My good friend Krista found them for me! 


I took a picture of Oakley every month for a whole year and displayed the pictures at the party. 
It was really cool to see them all together! 

I was so blessed by all the friends and family who came to celebrate with us. We had a good time visiting and eating and eating and eating. (I may have gone a bit overboard on the whole food thing.)

I know Oakley won't remember his first birthday but it was more a celebration for Jordan and I and a chance to show appreciation to those people who helped us through his first year. It was a bit over the top but I was super pleased with it and will probably tone things down for the next few years until he can have an "actual" birthday party with little friends whose parents I don't need to feed too! 

Thanks for taking our little birthday bash tour! 

Sunday, 29 September 2013

freezer cooking with Sharmane {in someone else's kitchen}

I've been pinning ideas for a while now for this whole freezer crock-pot cooking craze and really wanting to try it. I only have the freezer on top of our fridge for space, so I knew I couldn't go crazy (like this lady) but I wanted to have a few meals on hand for those days when I just can't my creative juices flowing to come up with supper. I meal-plan but sometimes, when that runs out and I'm left with random things in my pantry and fridge ... supper comes up short. So these are my "back-pocket" meals, if you will.

{Side note: isn't it weird that I can start out by talking about "pinning" things and you all know what I'm talking about? If this were two years ago, everyone would imagine me using a cork board and actual push pins. It's just strange how things evolve.}

Karlie had posted that she had done a big freezer meal cooking day and both Sharmane and I commented on her picture that we wanted to do that! DESTINY. We decided to get together this week and just do a big day of prep to have freezer meals on hand. We only did seven recipes but it took all afternoon on Friday.

Here's what we made:
If you look closely, you'll see our grocery bill was only $111.90. We already had some of the meat on-hand.
Sharmane provided chicken, prawns & turkey sausage and I supplied the beef. Well. J's family farm provided it.
So, that cut down our costs A LOT.

All our recipes were from either Six Sisters Stuff or Loving My Nest.


I went grocery shopping the night before and we used Sharmane's kitchen to work in. We decided to tackle it recipe-by-recipe in terms of what we were chopping and prepping. Some recipes require meat to be cooked before hand and others allow you to put it in the bags raw. It worked well for us to do it this way, but we only doubled our recipes. If you were tripling or anything crazy like that, you may want to do all your chopping & cooking first, then start bagging things. But - I think it's totally a personal preference thing.


Turns out that even with only seven meals, my fridge and freezer are full so I will be making most of the recipes this week, intermingled with my meal plan that I made up before deciding to do this. Two weeks of meals and only one day of prep for half of them! YES.


We decided that we will definitely do this again, although I will have to plan better for freezer space. I actually want to freeze them so I can use them in a pinch!


Have you done freezer crock-pot cooking at all? Tips? Tricks? I'd love to hear!


Saturday, 28 September 2013

panko chicken fingers {in the kitchen}

These last few weeks have felt like a bit of a gong show in our house. There have been a few issues that have sort of overtaken our lives and many other things fell by the wayside. Grocery shopping was one of these things. I was literally entering random ingredients into Google to try and come up with a recipe that I could make from my very limited stock. {Note to self: ALWAYS have tomato sauce, beans, cheese & milk on hand!} I had a bit of meat frozen and a depleted pantry to scour and planning supper quickly became my least favourite part of the day. I was so excited when Liz told me she made chicken fingers with panko bread crumbs and coconut oil and - as luck would have it - I had all the ingredients! {I know, panko bread crumbs and not tomato sauce? Really?} So I jumped on Pinterest and found this recipe from Cooking Light for Parmesan Panko Chicken Fingers. {I substituted the canola oil for coconut oil} I paired it with tri-colour baby potato wedges {"recipe" below} and veggies & dip. I think I should have coated the chicken with a little more panko to get more of a crunch ... they were a bit soft, which worked out with feeding chunks to our 10 month old but it may not appeal to all ages. The taste was a bit bland, but I think that could have been helped with just a little extra seasoning before coating the chicken. Otherwise, they turned out well and were an easy dinner in a snap!


Tri-colour Baby Potato Wedges

1 small bag tri-colour baby potatoes (mine were from Superstore)
2 Tbsp olive oil
2 tsp seasoning salt
1 tsp cajon seasoning

Cut potatoes into small wedges, place in bowl. Pour oil and seasonings overtop. Toss to combine. Spread on baking sheet and bake at 400 degrees F for 30 minutes. 

I do this with regular potatoes as well instead of store-bought fries. Just a bit of a healthier option and you can change up seasonings, oils, etc every time for some variety!